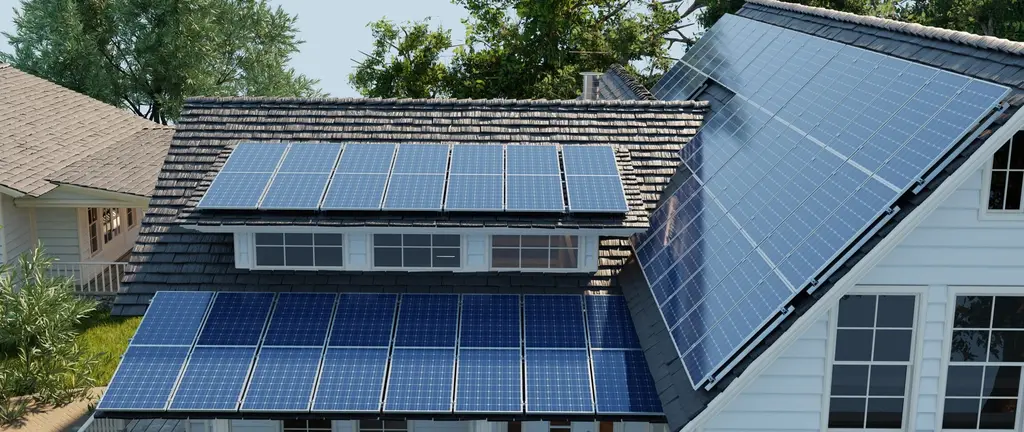
Rising electricity rates can make the monthly electricity bill feel like a moving target. A home solar installation gives homeowners a way to take control by turning sunlight into predictable solar power for years of electricity ahead. The best part is clarity: you should know what the installation process looks like before anyone sets foot on your roof.
Kokosing Solar takes a consultative, no-pressure approach because solar changes the math completely when it is planned well. Below is a transparent, step-by-step guide to the solar installation process, from the first conversation through permission to operate with your local utility.
Step 1: Free consultation and energy usage review
A strong solar energy system starts with your actual energy usage, not a one-size-fits-all estimate. During a free consultation, you will review past energy bills and electricity usage patterns so the team can understand how much energy your home typically needs throughout the year. Tools like a solar calculator can help frame the conversation, but real utility bill history is even better.
You will also talk about goals such as lowering energy costs, adding EV charging, or planning for battery storage and backup power. This early step helps identify the right system size that matches your household, budget, and future plans.
Step 2: Site assessment and system design
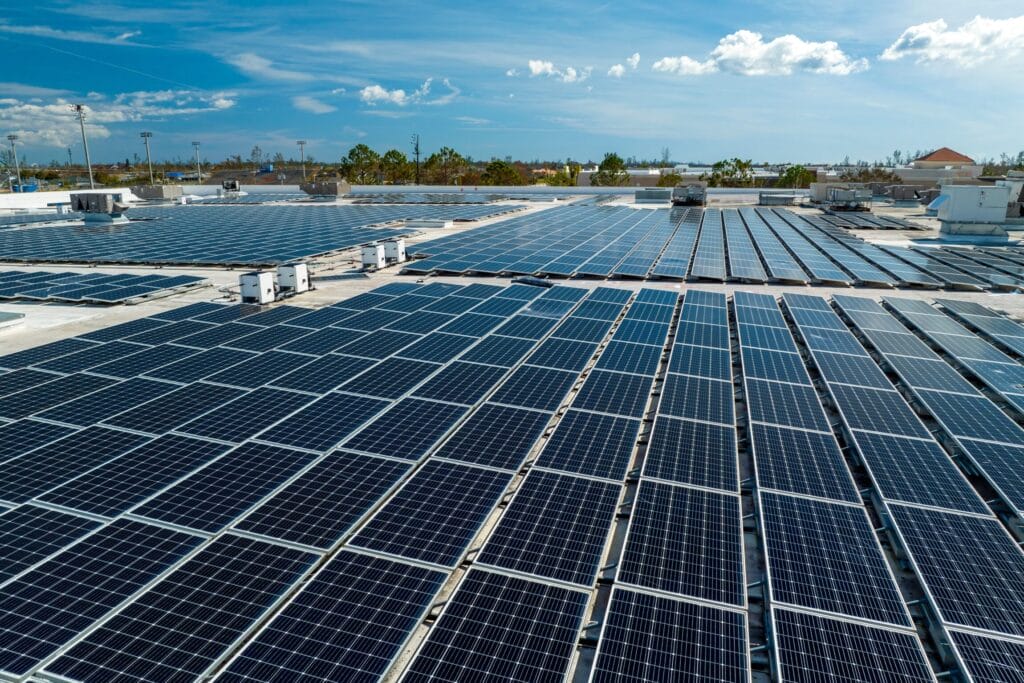
After the initial discussion, the next step is an assessment of your home so the system design fits your roof and your needs. A thoughtful design considers available roof space and how solar panels will be placed to support long-term energy production. It also considers where key solar equipment will go, including the solar inverter and other components that support safe operation.
Solar panels produce direct current, and your home uses alternating current, so the solar inverter plays a central role. Some homes use string inverters, and the right approach depends on the design and the property. This is also the stage where you discuss whether to include a solar battery for energy independence and added resilience.
Step 3: Transparent pricing, financing options, and incentives
Once the design is taking shape, you should see clear numbers and a straightforward explanation of potential costs. Your actual solar costs depend on system size, equipment choices, and installation costs tied to your home.
Many homeowners also want to understand financing options and how monthly payments compare to current energy bills. Common paths include:
- Cash purchase, which can maximize long-term solar savings
- Solar financing through a loan, often structured to spread upfront costs over time
Incentives can also change the math. The federal tax credit is widely discussed across the United States, and many homeowners ask how solar incentives affect payback periods. Your installer should explain incentives carefully and encourage you to confirm eligibility with a tax professional.
Step 4: Permitting and utility coordination
Paperwork is a major source of stress for homeowners, so it helps when your solar installer coordinates the process. A typical residential solar panel installation requires permits that align with local building and electrical rules, plus coordination with the utility company for grid connection requirements.
This is also where concepts like net metering often come up. Net metering policies vary by location, so your installer should explain how credits are handled, what applications are required, and what approvals need to happen before the system can operate. Clear expectations here reduce delays and keep the process predictable.
Step 5: Installation day arrives
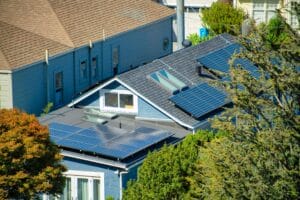
Installation is the visible part of a home solar installation, and it typically moves in a practical sequence. The crew focuses on safety, roof protection, and code-compliant electrical work. Kokosing Solar notes that experienced solar technicians and a licensed electrician handle the work, which matters for both performance and long-term service.
Here is what homeowners commonly see during solar installations:
- Staging and prep: Materials arrive, access is planned, and work areas are protected.
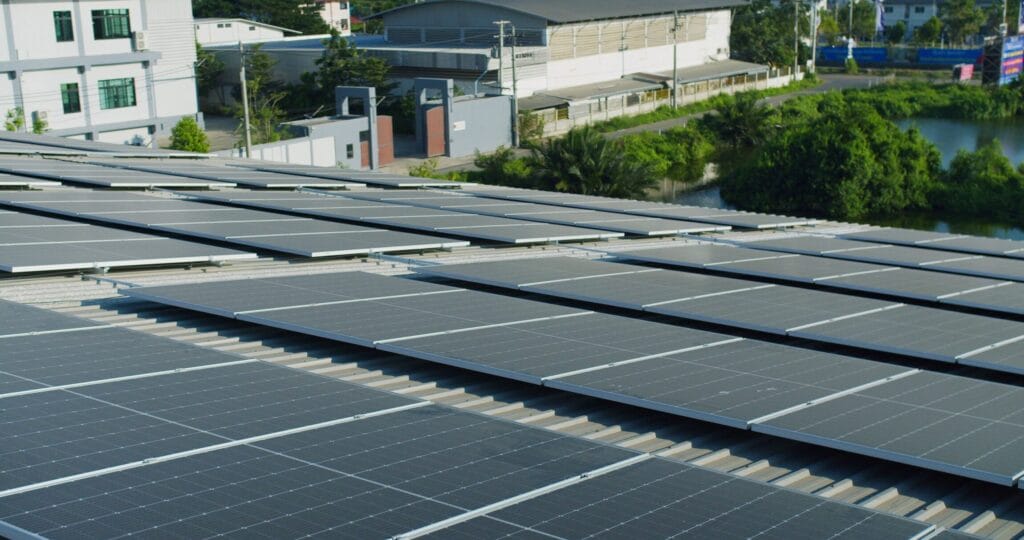
- Racking system installation: The racking system is attached to support the solar panels securely.
- Solar panels mounted: Panels are installed and aligned according to the system design.
- Electrical wiring and connections: Wiring is run and secured to connect panels to the inverter and your home’s electrical panel.
- Inverter and equipment setup: The solar inverter and required disconnects are installed, with labeling and safety steps completed.
A well-run installation should feel organized and respectful of your property. You can also ask where shutoffs are located and how the system will be monitored so you understand what “normal” looks like once it is running.
Step 6: Electrical tie-in, inspections, and approvals
After the equipment is installed, the system needs to be reviewed for safety and compliance. This typically includes an inspection that verifies the electrical work, grounding, labeling, and code alignment. It also confirms the system is ready to connect to the grid under your utility rates and local rules.
At this stage, your system may be physically complete but not yet allowed to operate. That final step depends on coordination with the utility company. Once approvals are complete and final connections are made, you are close to the moment every homeowner waits for: permission to operate.
Step 7: Utility connection and system turn-on
After inspections are complete and your local utility finishes its final steps, you can turn the system on. This is when your solar energy system begins producing clean renewable energy, reducing how much energy you need to buy from the grid. Many homeowners notice a shift right away: the house starts using onsite solar power during the day, and grid usage adjusts based on household demand.
If your system includes battery storage, you will also learn how it charges and discharges, what it can power during an outage, and how to prioritize loads if you are aiming for backup power. A battery does not automatically power your whole home unless it is specifically designed that way, so it is smart to review what circuits are supported.
How long does a home solar installation take?
A home solar installation timeline has multiple phases: consultation, design, permitting, installation, inspections, and utility approval. The on-site installation can be relatively quick compared to the full project timeline, but permitting and utility steps vary by local requirements. Clear communication keeps expectations realistic and helps you plan around key dates.
Step 8: What changes after installation?
Once your system is operating, the biggest change is usually financial. Your electricity bill may not disappear, especially if your home still uses some grid power at night or during lower production days, but many homeowners see meaningful reductions in electric bill costs over time. Solar helps protect you from future electricity rate increases because the sunlight fuel is free.
Solar panel systems are also known for little maintenance when installed correctly. You may still want periodic checkups, and it is helpful to know who to contact for service and maintenance if you ever have questions. Long-term performance also supports home value, since many buyers appreciate predictable energy costs and a lower carbon footprint.
If you are considering add-ons like EV charging or a solar battery later, ask during the early design stage so the electrical panel and system layout can support future upgrades without unnecessary rework.
A simple way to think about ROI: the hidden cost of doing nothing
Solar is often discussed as a clean energy choice, and it is that. It is also a long-term financial decision that can reduce exposure to utility rates. Every year you wait, the utility bill can rise. Every year you go solar, more of those dollars stay in your pocket.
A quick way to frame the payback period conversation is to compare:
- Current energy bills and expected energy costs if utility rates rise
- The amount of power your system can produce based on your design
- Financing options, tax credit impact, and total out-of-pocket costs
Good installers will walk through the numbers so you can make a confident decision without pressure.
Why homeowners choose Kokosing Solar
Trust matters when you are putting solar equipment on your roof and tying into your electrical system. Kokosing Solar emphasizes an experienced, consultative approach, internal design, and a commitment to handling paperwork and permitting. They are also part of the Amicus Solar Cooperative, which aligns local service with broader buying power and shared standards across solar projects nationwide.
If you want a steady partner for solar panel installation in Ohio, experience and long-term accountability make the difference.
Ready to run the numbers for your home?
If you are thinking about a home solar installation, the next step is simple: schedule a free assessment with Kokosing Solar. You will get clear answers on system size, expected energy production, solar financing, and how your local utility handles interconnection and net metering. Turn the reliable, free energy of the sun into savings and take a real step toward energy independence.